Docker Updates: 4 steps to secure your images
Greg Heffner August 11, 2024

Just like computers, docker images need to be updated regularly. Please check out DockerHub: Because Ship Happens for a blog about what DockerHub is and a brief overview of docker. I like to update my images monthly for security improvements and performance. Regularly updating your images will remediate vulnerabilities and reduce risk these package inherently contain.
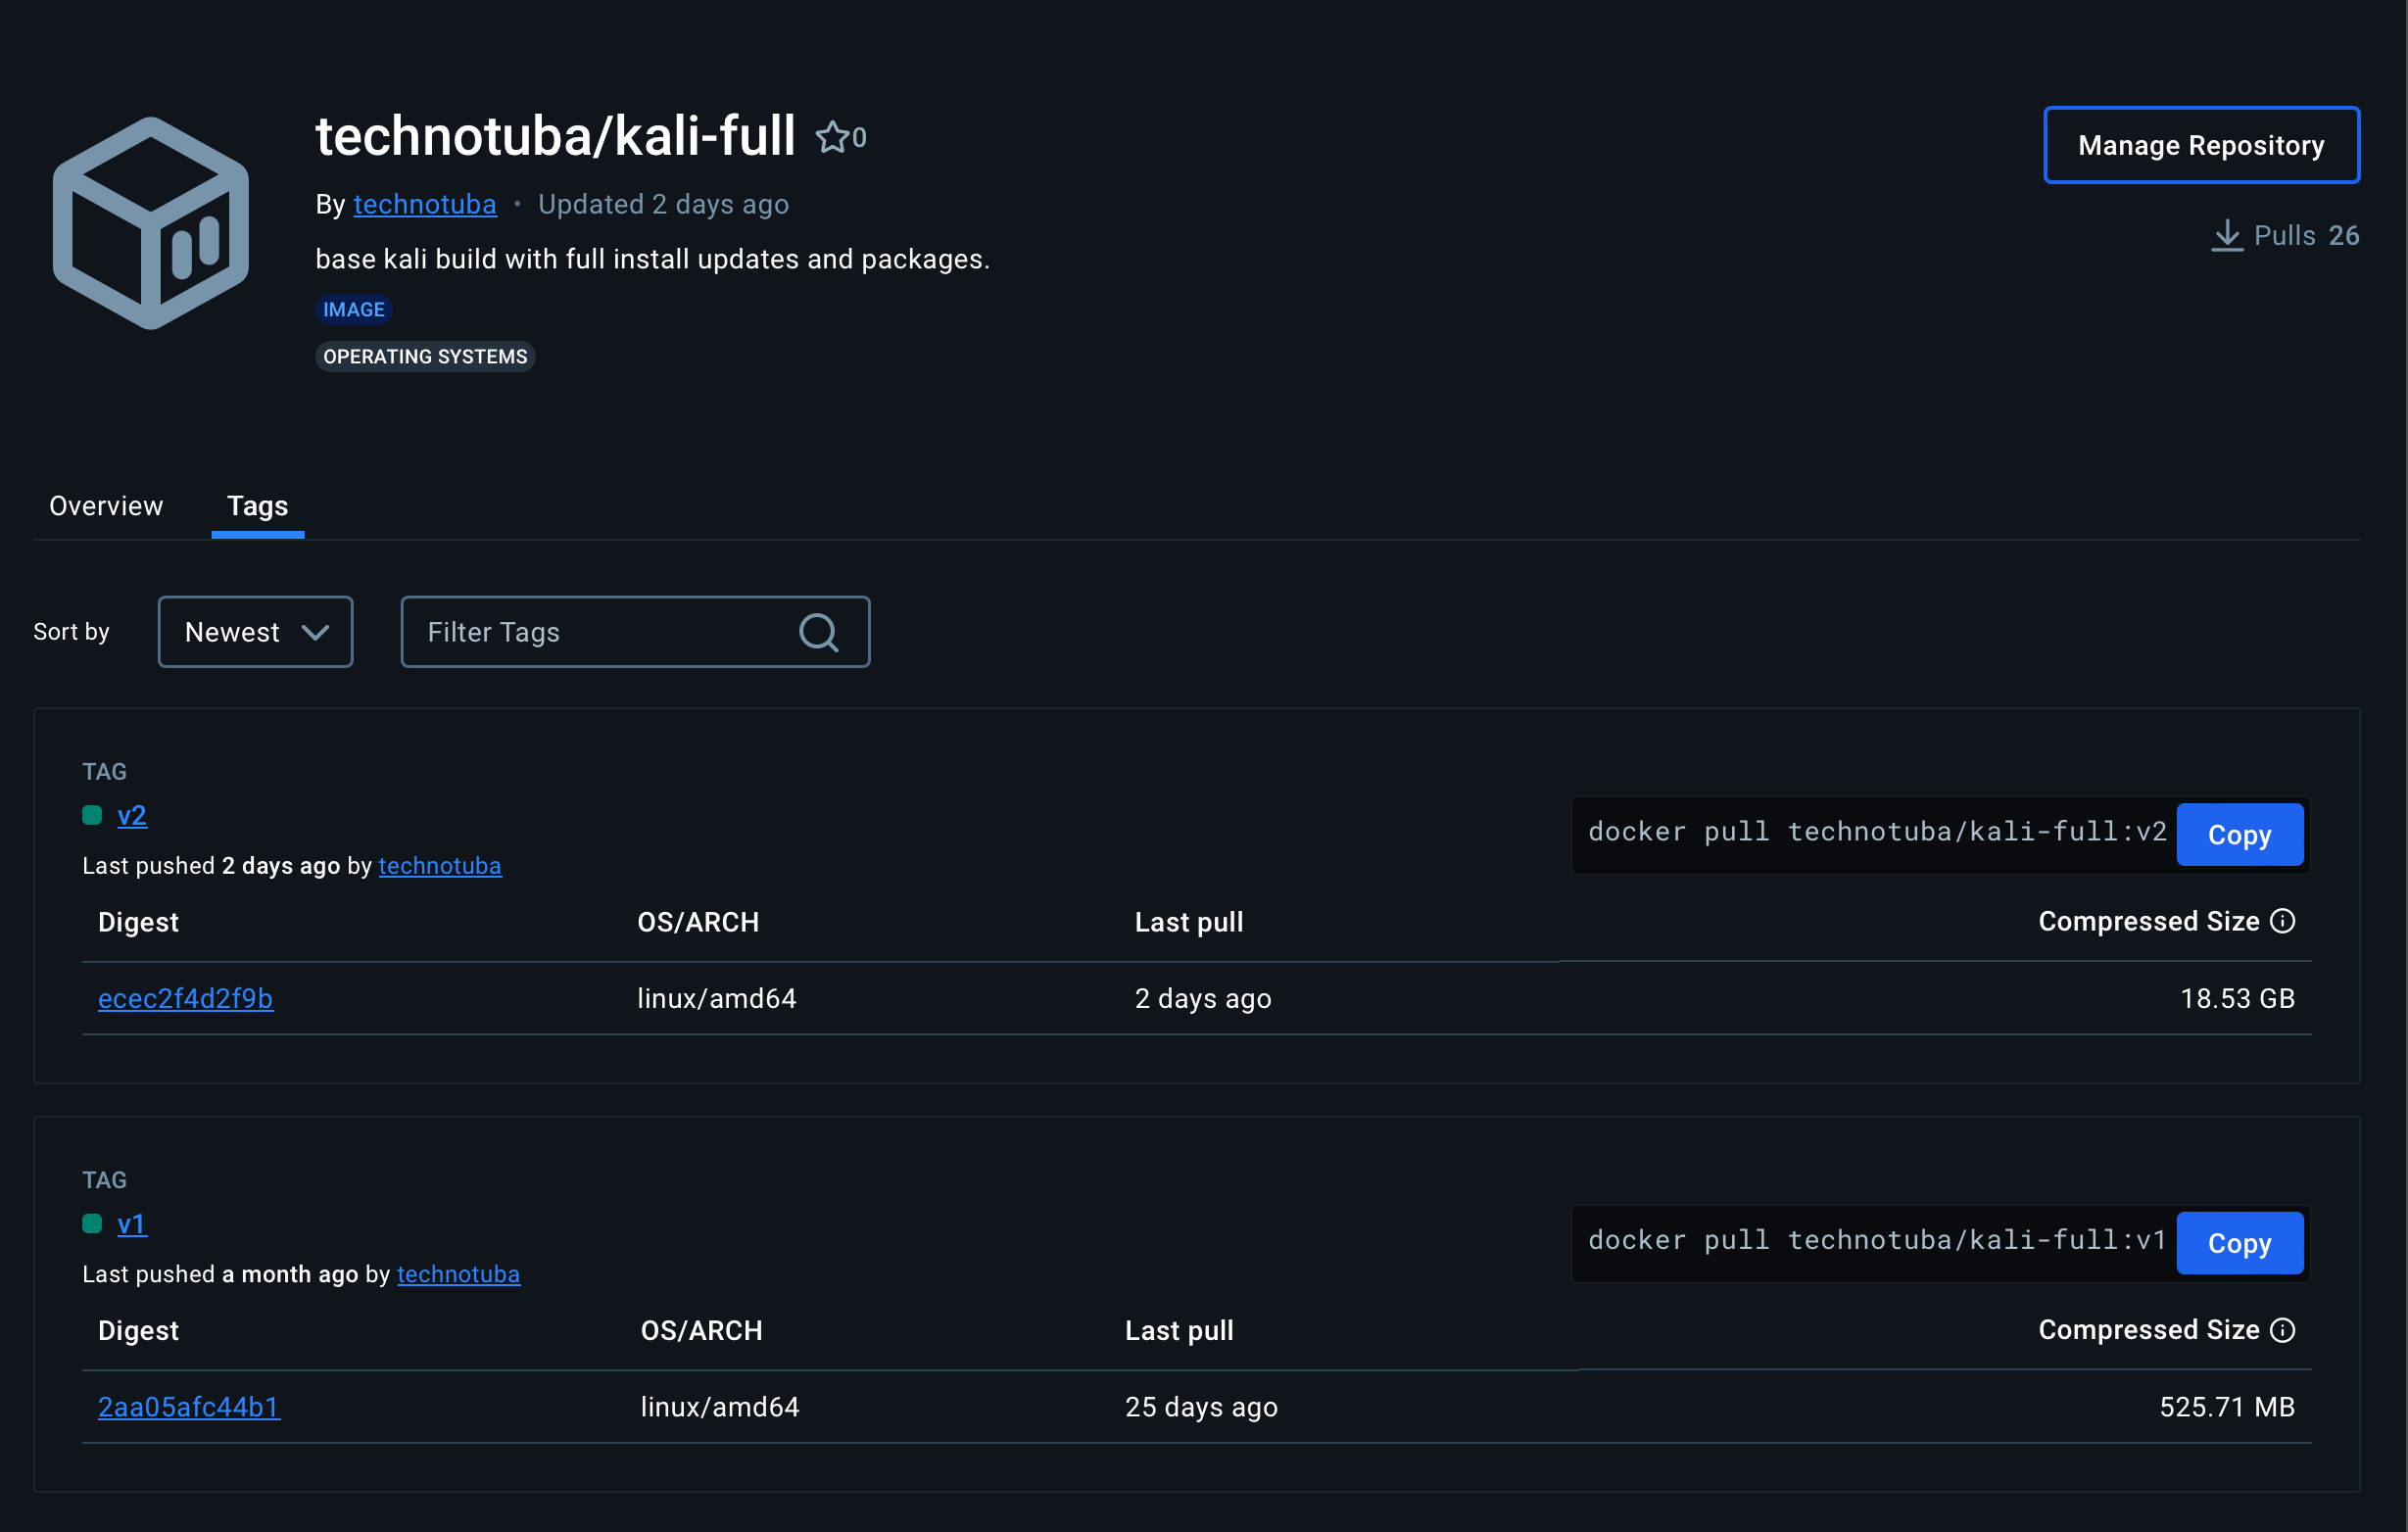
I update my docker images in about four steps. Not too much in this process but I wanted to write it out to share. There are a couple different ways to update docker images, I am going to show how to do it manually inside the image. In this blog I use technotuba/kali-full:v2 which is VERY LARGE. It will take about 20 minutes to first download due to all the packages and updates I maintain. If you would like a smaller package feel free to use the v1.
- PULL IMAGE
First make sure that the image is on the local machine by running "docker pull" and then the image name. I then create a temporary container with that image by running "docker run -it --name kali_updates technotuba/kali-full:v2 /bin/bash"

Start the image with docker run. Interactive session & with TTY, by passing the -it flags. Naming the container kali_updates and using the technotuba/kali-full:v2 as the base image. Finally I am asking to be brought into a bash interface with /bin/bash - UPDATE PACKAGES
Once inside the image, updating the packages is relatively simple. I patch the image with "apt-get update && apt-get upgrade -y." There are better ways to update your packages in this step and I will be writing about them in the future. Check out Ansible: Let me put you on patch game for some ideas.

Updating packages. Shortening the lines of code by adding && to run the upgrade immediately following the update - COMMIT CHANGES
Committing your changes with a docker image saves your work locally. It would be the same as if you are committing changes in a git local repo except I am not passing a comment here like I would in git commit -m. Check out GitHub: What's the fuss about? for a blog about git and github.

docker to commit to save all the changes I made to the kali_updates image and name the docker image "technotuba/kali-fullv2." - PUSH TO CLOUD
Uploading your docker images to the cloud is a great way to be able to have them available on other systems or to share them with other people. You do not have to push your image to DockerHub as I do in this step. I upload my images to share with anyone who would like here. A few prerequisites here would be to have a DockerHub account, have internet access, and have completed steps 1-3 above.

docker login and docker push will upload your image. The image is split into layers when uploaded and downloaded. I only made changes to one layer.
Conclusion
And thats it! If you followed the steps above you have successfully downloaded, updated, and then uploaded your first docker image. Now script your updates and let me know how you did! I would love the feedback!

Bing AI explanation
Lets break it down into simple steps, just like building with colorful blocks:
Create Your Docker Image: Imagine youre making a special toy. You gather all the pieces you need: a base, wheels, and decorations.
In the same way, a Docker image is like your toy. It contains everything your app needs to run: code, libraries, and
settings.
You create this image using a recipe called a Dockerfile. Its like following a step-by-step guide to build your toy.
Tag Your Toy:
Now that youve built your toy, you want to give it a name. Lets call it “SuperApp.”
In Docker, we “tag” our image with a name (like “SuperApp”) and a version (like “v1.0”). This helps us find it later.
Pack Your Toy in a Box:
Imagine putting your toy in a colorful box. This box is like a container.
Containers keep your toy safe and separate from other toys. They also make sure it runs the same way everywhere.
Upload to DockerHub:
DockerHub is like a big toy store where everyone shares their toys.
To upload your toy, you need a DockerHub account (like your toy store membership).
Click the “Upload” button, and your toy (image) goes to DockerHub.
Share with Friends:
Now your toy is on display at the toy store (DockerHub). Anyone can see it!
Friends can download your toy (pull the image) and play with it on their computers.
Keep It Updated:
Sometimes you add new features to your toy. You update the image (like adding wings to your toy plane).
To upload the updated toy, repeat steps 3-5.
Remember, Docker makes sure your toys (apps) are easy to share, play with, and update! 🚀🐳
About Me
I served in the U.S. Army, specializing in Network Switching Systems and was attached to a Patriot Missile System Battalion. After my deployment and Honorable discharge, I went to college in Jacksonville, FL for Computer Science. I have two beautiful and very intelligent daughters. I have more than 20 years professional IT experience. This page is made to learn and have fun. If its messed up, let me know. Im still learning :)
